

After many requests for mermaids, I finally did it. This is Emery, the diving mermaid. She’s the first of a set of three mermaids that I’ve spent the last month creating. My original plan was to release all three together, but it’s been slow going so I’ve decided I just need to release them as I finish them or else they’ll never see the light of day. Schooling kids in a pandemic and garden planting season makes for very little time for my own work. But I’m not complaining. I feel so very lucky to have a flexible schedule during this time.


Here is a sneak peak of Emery with the other two mermaids.


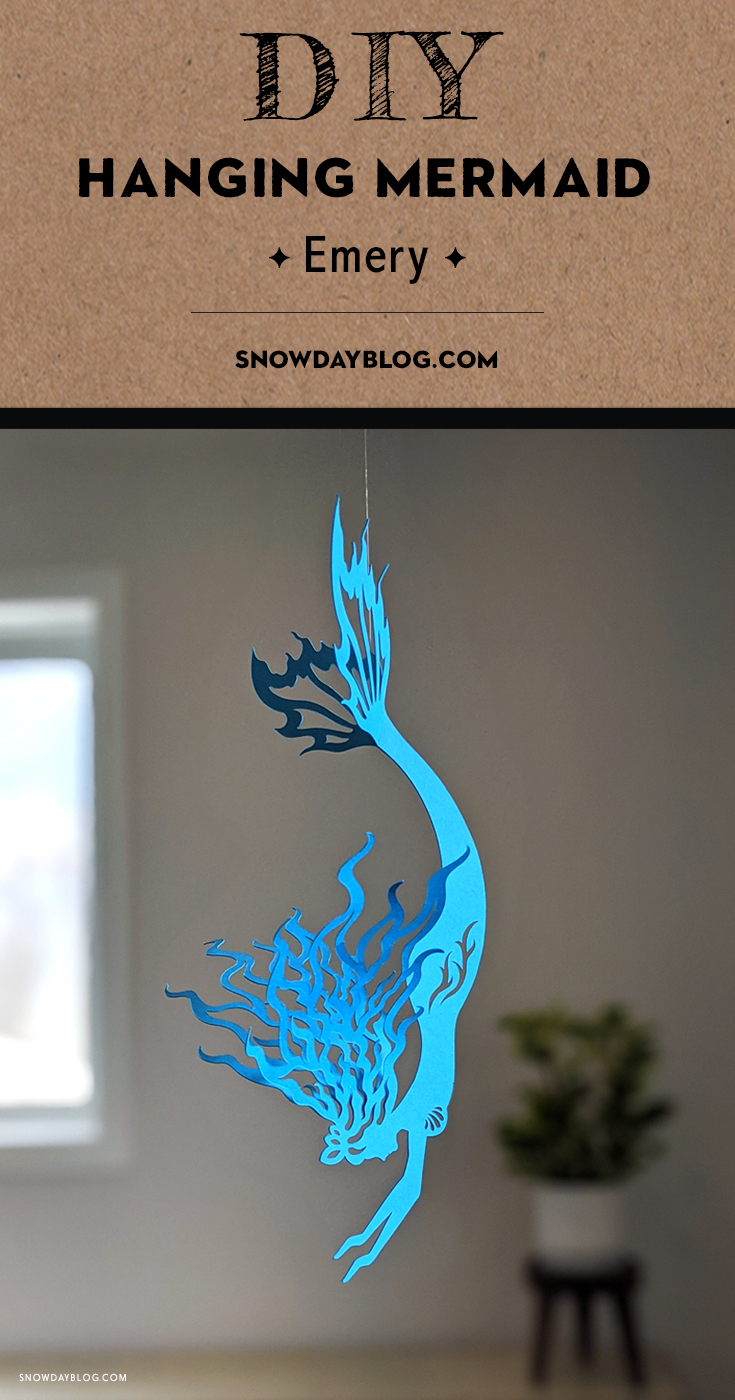
I should have the other two mermaids ready in the next couple of weeks but in the mean time, you can purchase Emery here and follow along with the tutorial below.
✻✻✻ Disclosure: Some of the links below are affiliate links, meaning at no additional cost to you, I will earn a commission if you click through and make a purchase. I’m trying to avoid having ads on my site so if it’s a product you were planning on purchasing anyway, please consider purchasing through my links. I really appreciate your support ! ✻✻✻
Materials:
Emery Mermaid SVG Files
Cutting Machine
Cardstock Paper
Double Sided Tape with Lining
White Glue and Small Paintbrush
X-Acto Knife or any sharp point
Clear String
Scissors
❊❊❊ UPDATE APRIL 2023 ❊❊❊
A redesign of this mermaid now has the hanging notch attached to her tail. If you have the original version of this mermaid with the separate hanging notch and you would like the redesigned mermaid, you can re-download the file in your order confirmation to get the new version or send me an email (chaivdesign@gmail.com) to get it emailed to you.

Photo tutorial below is for the mermaid with the separate hanging notch (purchases made March 2023 or earlier). To see tutorial for redesigned mermaid with attached hanging notch, please watch video here:
PHOTO TUTORIAL
Step 1: Cut two mermaids and one hanging notch
Cut two Emery mermaids and one hanging notch.

Please note your machine should have also cut a dotted line below the mermaid’s tail. This will be the line you use to fold the tail open, and also the line that will guide you in the next step.

Step 2: Attach double-sided tape along fold line of tail
For this step I have my mermaid’s head to the left with the tail at the top. Cut a piece of double-sided tape about 1 inch long, and about a half inch wide. It’s important to use strong double-sided tape and not the removable tape for this step. Tape with liner on it works best and you’ll see why in the next steps.
Place your tape along the fold line and let the excess hang off the edges of the mermaid’s tail.

Step 3: Trim off tape edges
Flip your mermaid over and trim off the excess tape. Then flip her back over for Step 4.

Step 4: Remove tape liner and attach notch
Remove tape liner, but make sure to keep it for later. Now stick your hanging notch to the exposed tape. Align the left edge of the hanging notch with the edge of the mermaid tail.

Re-apply your tape liner to cover the tape and hanging notch.

Step 5: Attach two mermaids together
In this step you’ll be using the taped area to attach the two mermaid cut-outs to each other.
Take your second mermaid cut-out and align it on top of the one you’ve been working on. Make sure all edges are aligned.

Once you have them aligned, while holding them in place, open up the tail of the top mermaid to expose the tape beneath. With an X-acto knife or any sharp object, pry off and remove the tape liner. You won’t be needing the liner any more so you can throw it away.

Release the top mermaid tail down and press on the tape area to secure the two mermaids together.

Step 6: Glue the two mermaids together
For this gluing step I like to pour my glue into a container so I can easily dip my brush into it.
I’m right-handed so for this step I have the mermaid’s head on my right side. Gently open the top mermaid all the way to the tail end and spread your glue on the bottom mermaid.
It’s best to glue in sections, as in the images below, rather than doing the whole mermaid at once. You’ll be able to line them up better by gluing in sections.
Spread glue on a small area and press down the top mermaid, making sure to keep the two mermaids aligned. Then open it again to work on the next area, working your way towards the mermaid’s head.


When you get to the head area, have a look at the image below to see where I end the glue at the mermaid’s hair. The green shaded area is where your glue should go. Leaving the hair unglued will allow you to curl it open later.


Also you’ll find it easier if you leave the arms last to glue. Once you have the face area glued together, just pry the arms open to apply glue.

Step 7: Open tail and curl hair
Open the mermaid’s tail. You can place your fingers up against the fold lines to make sure the tail folds open along those lines.

To curl the mermaid’s hair, use the end of a paintbrush or any cylindrical object like a pencil, and run it along the hair with your fingers on the other side. If you’ve ever had to curl ribbon, it’s the same idea. You can also skip this curling and just gently open her hair with your fingers to leave it more straight.

The individual hair strands can also be curled like below.

Her hair should end up similar to the image below.

Step 8: Tie string to mermaid
Take the end of your fishing line or string and thread it through the hanging notch. Then tie a knot two or three times.

And that was the last step! I hope all you mermaid lovers out there enjoy this one!

Follow my Instagram @chaivdesign to see upcoming new products and tag us if you post pictures. I love seeing how all my designs are used out there!


You are an artist😍…It’s really beautiful what you do…I love it all!!!
You are so kind thank you so much!❤️